Custom medical equipment usually does not fail because the idea is bad. It fails because the first version is rarely the right version.
A handle feels too thick after a surgeon tries it.
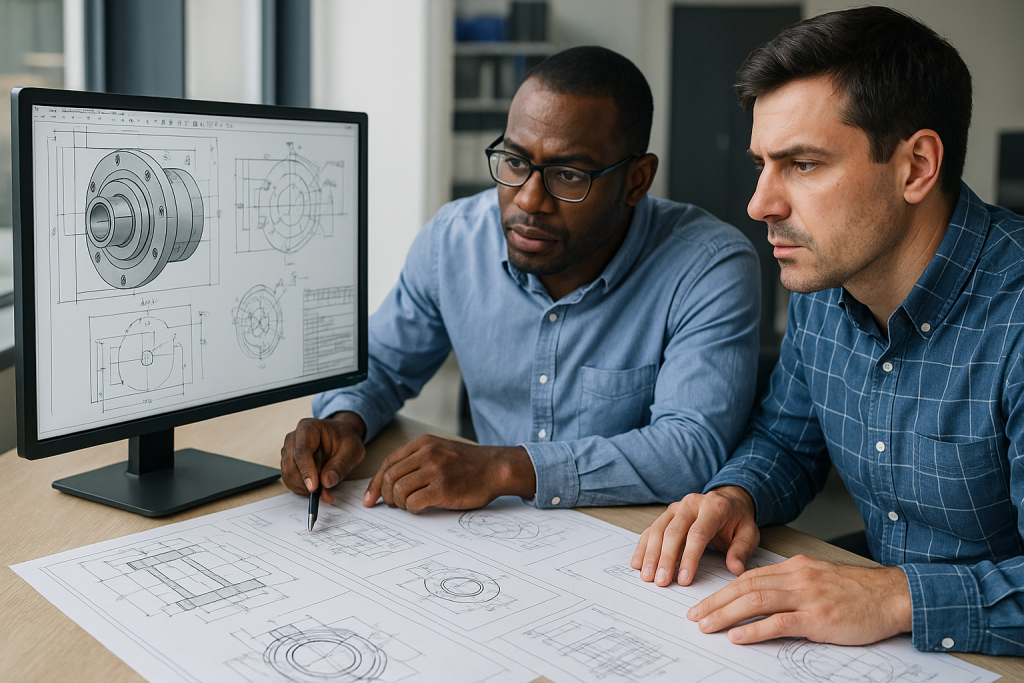
A device housing needs another 2 mm of clearance for the PCB.
A lab fixture holds the tube correctly, but blocks access to the sensor.
A training model looks good, but one thin wall breaks after repeated handling.
These are normal problems in medical product development. They are also the reason medical 3D printing has become so useful. It gives teams a faster way to make real parts, test them, and change the design before spending money on CNC machining, injection molds, or larger production runs.
For custom equipment, speed is not only about making parts quickly. It is about learning earlier. A printed prototype on the table can answer questions that a CAD model cannot.
Boona custom 3D printing services are useful for this stage because medical equipment projects often need several rounds of testing before the design is ready for production.

What “Custom Medical Equipment” Really Means
When people hear medical equipment, they often think of finished devices used in hospitals. In manufacturing, the category is much broader.
Custom equipment can include prototypes, fixtures, housings, anatomical models, test parts, training tools, assembly aids, dental models, wearable device enclosures, and lab-use adapters. Many of these parts are not final clinical products. They are tools that help teams develop, test, or explain a medical product.
A few examples:
| Custom Part | How It Is Used |
|---|---|
| Diagnostic device housing | Checks shape, assembly, button position, and internal clearance |
| Surgical tool handle | Tests grip, angle, comfort, and basic handling |
| Lab fixture | Holds cartridges, sensors, samples, or tubing during tests |
| Anatomical model | Helps review fit, access, or training needs |
| Wearable sensor shell | Tests comfort, size, clip strength, and user interaction |
| Assembly jig | Helps technicians place small parts consistently |
This is where 3D printed medical equipment makes sense. These parts are often too custom for standard suppliers, too early for tooling, and too urgent to wait weeks.
3D Printing Is Useful Because Medical Designs Keep Changing
In early development, design changes are not a problem. They are the work.
A medical device team may print three versions of a housing just to compare hand feel. A research lab may need a one-off fixture for a test setup that will change next month. A training department may need a model that highlights one anatomical feature more clearly than a standard teaching model.
Traditional manufacturing can make excellent parts, but it is not always the best first step. CNC machining is accurate, but it may be unnecessary for a rough ergonomic model. Injection molding is efficient at scale, but too expensive when the design is still moving.
3D printing fills the gap.
It allows a team to print one part, test it, change the file, and print again. That loop is where a lot of design improvement happens.
For early-stage medical device prototypes, rapid prototyping helps teams move from discussion to physical review much faster.
Choosing the Right Process: Not Every Medical Part Should Be Printed the Same Way
One of the biggest mistakes is choosing a 3D printing process only because it looks good in photos.
A display model, a lab fixture, and a functional device housing do not need the same process. The right question is simple: what does this part need to prove?
| Project Need | Better Starting Process | Why |
| Smooth visual prototype | SLA | Good surface detail and presentation quality |
| Durable fixture or handling part | SLS or MJF | Strong nylon parts for repeated use |
| Large concept model | FDM | Cost-effective for early shape checks |
| Functional housing prototype | SLS, MJF, or CNC | Depends on strength and tolerance needs |
| Tight holes or metal interfaces | CNC machining | Better for precision and final-material behavior |
| Small batch validation parts | SLS, MJF, CNC, or hybrid | Depends on quantity and requirements |
For smooth models and presentation prototypes, SLA 3D printing is often a good choice. For tougher nylon parts, SLS 3D printing or MJF 3D printing may be better. When a part needs metal strength, tight holes, or flat mating surfaces, CNC machining services may be the next step.
In real projects, the best answer is often not “3D printing or CNC.” It is 3D printing first, then CNC where precision matters.
How Medical 3D Printing Improves Custom Equipment Production
The biggest advantage is that teams can test equipment earlier.
A doctor can hold a surgical tool handle instead of reviewing only a rendering. An engineer can check whether the device housing closes around the electronics. A lab technician can try the fixture in the real workflow. A product manager can compare two designs side by side before committing to a more expensive sample.
This changes the development process.
Instead of waiting for one “perfect” sample, teams can test practical versions quickly. That reduces the risk of discovering basic design problems too late.
For custom medical prototypes, medical 3D printing helps with:
- Faster ergonomic testing
- Better assembly review
- Easier fit checks
- Lower cost for one-off parts
- Faster feedback from clinical or lab users
- Early testing before CNC or molding
- Small-batch trial production
- More realistic communication between design and manufacturing teams
A printed part does not have to be final to be useful. It only has to answer the right question.
Fixtures and Jigs Are Often the Hidden Value
Anatomical models and device housings get most of the attention, but custom fixtures are one of the most practical uses of medical 3D printing.
Labs and medical device companies often need small tools that are not sold anywhere: a cartridge holder, a sensor alignment fixture, a tube guide, a test stand, or a small assembly jig. These parts may be used only inside the company, but they can save hours of repeated manual work.
For example, a printed fixture can help hold a prototype at the same angle during testing. It can keep a small part stable during inspection. It can help a technician assemble the same component consistently across a small batch.
For this kind of work, appearance is not the main goal. Fit, strength, and delivery speed matter more.
Boona article on 3D printing custom fixtures and jigs is a natural reference for this application.
Design Details That Decide Whether the Printed Part Works
A medical equipment prototype should be designed around how it will be used. A display model can be thin and clean. A fixture or functional part needs stronger walls, better clearances, and sometimes metal inserts.
These starting points are useful for early design review:
| Feature | Practical Starting Point |
| Visual model wall thickness | 0.8–1.5 mm |
| Functional prototype wall thickness | 1.5–2.5 mm |
| Repeated-use fixture wall thickness | 2.0–4.0 mm |
| Assembly clearance | 0.3–0.8 mm depending on process |
| Small edge radius | 0.5–1.0 mm or more |
| Screw bosses | Add fillets and enough local thickness |
| Repeated threads | Use threaded inserts where possible |
These numbers are not fixed rules. SLA, SLS, MJF, and FDM all behave differently. But they are a good reminder that a working prototype needs more than a printable file.
For parts that will be handled repeatedly, avoid tiny unsupported pins, sharp internal corners, and thin walls that only look good on screen.
When CNC Machining Still Matters
3D printing is fast, but it is not always enough.
If a medical equipment part needs tight holes, metal strength, flat datum surfaces, optical alignment, threaded metal interfaces, or final-material testing, CNC machining may be the better option. Sometimes the workflow is staged: print the first concept, test the shape, then CNC machine the next version once the design is more stable.
That is common for medical device housings, handheld equipment, test fixtures, metal brackets, and precision lab components.
A typical path may look like this:
| Stage | Typical Manufacturing Choice |
| First concept | SLA or FDM |
| Ergonomic review | SLA or SLS |
| Functional test part | SLS, MJF, or CNC |
| Precision engineering sample | CNC machining |
| Low-volume validation batch | CNC, SLS, MJF, vacuum casting, or hybrid |
This staged approach keeps cost under control. You do not spend CNC money too early, and you do not rely on printed tolerances where precision is critical.
Post-Processing Can Change the Prototype
A raw printed part is not always ready for review or testing.
Support marks, rough texture, visible layer lines, or weak threaded areas may affect how people judge the part. For medical equipment prototypes, finishing can change the feel of a handle, the look of a housing, or the durability of a fixture.
Common post-processing steps include sanding, dyeing, painting, polishing, insert installation, support removal, and assembly. For a product presentation, finish may matter a lot. For a lab fixture, it may matter very little. For a functional prototype, inserts and dimensional stability may matter more than appearance.
If the prototype needs to look closer to a final product, Boona surface finishing services can support painting, polishing, and other finishing requirements.
Quality Control Is Still Important, Even for Prototypes
Fast prototypes can still lead to wrong decisions if they are not checked properly.
A fixture with a wrong dimension can make a test result unreliable. A housing with poor clearance can make a design look worse than it is. A training model with a broken thin feature may distract from the intended teaching purpose.
For functional medical equipment prototypes, at least check the important features:
| Check | Why It Matters |
| Critical dimensions | Confirms fit and assembly |
| Surface condition | Affects handling and presentation |
| Insert locations | Affects repeated assembly |
| Material choice | Affects strength and flexibility |
| Revision number | Prevents mixing old and new versions |
| Fit with mating parts | Confirms the prototype answers the real question |
For more controlled projects, inspection reports and revision tracking are worth adding. Boona quality control page is relevant when prototypes need inspection discipline, especially for medical device development.
Be Clear About Intended Use
Not every printed medical part should be treated the same way.
A model for internal design review is different from a patient-contact device. A lab fixture is different from a sterilized surgical tool. A prototype housing is different from a regulated final medical product.
Before ordering, define the intended use clearly. Is the part for visual review, ergonomic testing, assembly, training, lab workflow, or functional validation? Does it need biocompatibility? Does it need sterilization resistance? Will it contact a patient? Will it be used only inside the development team?
The supplier can help choose a process and material, but the medical device team must define the regulatory and clinical requirements.
This is important. Medical 3D printing is powerful, but it should be used responsibly.
What to Send for a Faster Quote
A good RFQ saves time. It also helps the supplier avoid guessing.
Send a 3D CAD file, 2D drawing if available, quantity, material preference, intended use, surface finish needs, tolerance requirements, and photos or notes showing how the part will be used.
For medical equipment, intended use is especially important. The same shape may be printed differently if it is only for visual review, repeated handling, or functional testing.
For example, “make this look good for a demo” and “make this survive repeated fixture use” are very different requirements.
Final Thoughts
Medical 3D printing improves custom equipment production because it gives teams a faster way to test real objects, not just ideas. It helps doctors, engineers, lab teams, and product developers find design problems earlier and make better decisions before committing to more expensive manufacturing steps.
It is useful for medical device prototypes, custom fixtures, housings, training models, anatomical fit checks, and small-batch development parts. The best results come from choosing the process based on the job: SLA for smooth visual models, SLS or MJF for stronger nylon parts, CNC machining for precision and metal components, and finishing when appearance or handling matters.
For companies developing custom medical equipment, 3D printing is not just a shortcut. It is a practical way to reduce uncertainty before production.
FAQs
How does medical 3D printing help custom equipment production?
Medical 3D printing helps teams make custom equipment faster by turning CAD designs into physical prototypes without molds or tooling. It is useful for device housings, surgical tool concepts, lab fixtures, training models, and fit-check parts. Teams can test a design, update the file, and print a new version much faster than traditional manufacturing methods.
What types of custom medical equipment can be 3D printed?
Common examples include medical device prototypes, diagnostic device housings, surgical tool handles, anatomical models, lab fixtures, inspection jigs, wearable sensor enclosures, dental models, training tools, and assembly aids. Many of these parts are used for development, testing, training, or internal workflows rather than final clinical use.
Which 3D printing process is best for medical equipment prototypes?
It depends on the part’s purpose. SLA is often used for smooth visual prototypes and detailed models. SLS and MJF are better for stronger nylon parts, functional fixtures, and repeated handling. FDM can work for large early concept models. If the part needs tight tolerances, metal strength, or flat mating surfaces, CNC machining may be a better next step.
Can 3D printed medical equipment be used for functional testing?
Yes, but the material and process must match the test. A visual SLA model may be good for appearance review but not ideal for repeated mechanical use. SLS or MJF nylon parts are often better for functional testing, fixtures, and handling prototypes. For high-load, metal, or tight-tolerance parts, CNC machining or a hybrid process may be required.
What should I consider before ordering custom medical 3D printed parts?
Before ordering, define the part’s intended use. Is it for visual review, ergonomic testing, assembly, training, lab workflow, or functional validation? Then consider material, wall thickness, tolerance, surface finish, insert requirements, post-processing, inspection needs, and whether the part will later need CNC machining or low-volume production.
Is medical 3D printing suitable for final-use medical devices?
Sometimes, but not every 3D printed medical part is suitable for final clinical use. A prototype, training model, or lab fixture has different requirements from a patient-contact or regulated medical device. If the part will be used clinically, the medical device team must define material requirements, sterilization needs, biocompatibility, validation, and regulatory compliance before production.