
“A1 on all surfaces” takes seconds to add to a drawing. On a mold with deep pockets, narrow ribs, and a small viewing window, that instruction extends premium finishing into areas with very different functions. The purchasing decision behind SPI A1 vs A2 vs A3 therefore starts with a simple question: which surfaces actually need the finest polish?
An unnecessarily broad specification adds preparation, polishing, inspection, and potential rework. An incomplete specification creates a different problem: the supplier and buyer may approve different definitions of “mirror finish.”
We can avoid both by separating the mold finish, the molded part’s performance, and the work included in the quotation.
What SPI A1 vs A2 vs A3 Actually Means
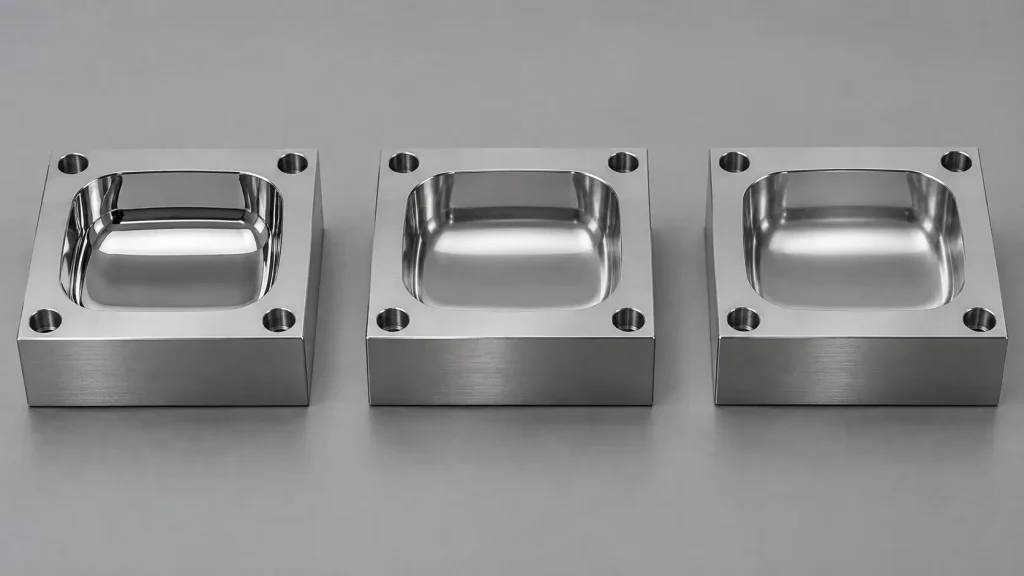
Understanding the Three Diamond-Polished Levels
The SPI mold finish system places A1, A2, and A3 in its diamond-polished family. A1 represents the finest of these three finishes; A2 and A3 represent progressively less refined levels.
The technical cross-reference chart from tooling-component manufacturer Progressive Components associates A1 with Grade #3 diamond, A2 with Grade #6, and A3 with Grade #15. These are polishing-reference designations. They do not specify the complete preparation sequence or independently prove that a finished cavity meets the agreed appearance.
Side-by-Side Comparison
| Comparison point | SPI A1 | SPI A2 | SPI A3 |
|---|---|---|---|
| Relative finish | Finest diamond-polished level | Intermediate diamond-polished level | Less refined diamond-polished level |
| Diamond reference | Grade #3 | Grade #6 | Grade #15 |
| Candidate surfaces | Highly appearance-sensitive or selected optical surfaces | Demanding glossy cosmetic surfaces | General glossy surfaces |
| Effort on otherwise equivalent tooling | Usually greatest | Usually intermediate | Usually lowest |
| Approval requirement | Agreed comparator and application-specific checks | Agreed comparator and cosmetic checks | Agreed comparator and cosmetic checks |
The application examples are starting points for engineering review. Resin and acceptance criteria can change the appropriate choice.
Even mirror-polished molds can have waviness, isolated pits, or rounded edges. Likewise, two surfaces with similar average roughness can reflect light differently. Treat the grade as one part of the surface specification.
How Diamond Polishing Creates the Finish
Preparation Before Final Polishing
Diamond mold polishing begins before the final diamond compound touches the steel. The toolmaker must remove machining marks and address the surface left by electrical discharge machining, while preserving the cavity’s dimensions.
A fine compound removes material slowly. If deeper scratches remain from an earlier operation, prolonged fine polishing can leave them visible beneath an otherwise reflective surface.
BORIDE’s practical diamond-finishing guide describes staged preparation, progressively finer polishing operations, and thorough cleaning between stages. Its procedure illustrates why the finishing charge covers much more than the final abrasive.
Cleaning and Inspection Between Stages
Residual coarse abrasive can introduce fresh scratches during a finer operation. Separate tools, clean storage, and careful surface cleaning help prevent that setback.
Inspection should follow the same progression. Check whether the previous scratch pattern has disappeared before moving forward, then examine the surface under controlled lighting.
The route also depends on access. A broad, open insert may allow consistent polishing contact, while a narrow recess requires smaller tools and more handling. Those differences help explain why identical finish callouts can produce very different quotations.
SPI A1 vs A2 vs A3: What Determines the Cost?
Polishing Charges Versus Total Mold Cost
There is no defensible universal dollar price or percentage premium for A1 over A2 or A3. Injection mold polishing cost depends on the work required to reach acceptance from the tool’s starting condition.
Ask suppliers to distinguish:
- Preparation, including removal of machining marks or damaged surface layers.
- Polishing labor and consumables.
- Inspection and documentation.
- Steel, insert, or access changes required by the finish.
- Trial-related corrections and future maintenance.
The last category deserves attention. A quotation that includes one approval cycle differs from one that includes repeated cosmetic revisions.
A 2022 robotic mold-steel polishing study published in Machines demonstrates the sensitivity of finishing time to process choices. In Table 8, polishing 90 × 50 mm areas took 17.8 minutes with 10 mm path spacing and 29.8 minutes with 5 mm spacing. Final Ra values were 0.275 and 0.290 µm, respectively.
The closer spacing took approximately 67% longer, calculated from those reported times, without producing lower final Ra in that experiment. Initial roughness differed slightly. These were robotic polishing trials, not an A1/A2/A3 price comparison or a benchmark for manual finishing.
Comparing Like-for-Like Quotations
Hold the steel, geometry, cavity count, starting condition, finish boundaries, and approval requirements constant when requesting alternatives.
A shallow A1 surface may cost less to finish than a difficult A3 recess. Comparing grade names without comparing the underlying work can obscure the reason for a price difference.
How Tool Steel and Geometry Affect Polishability
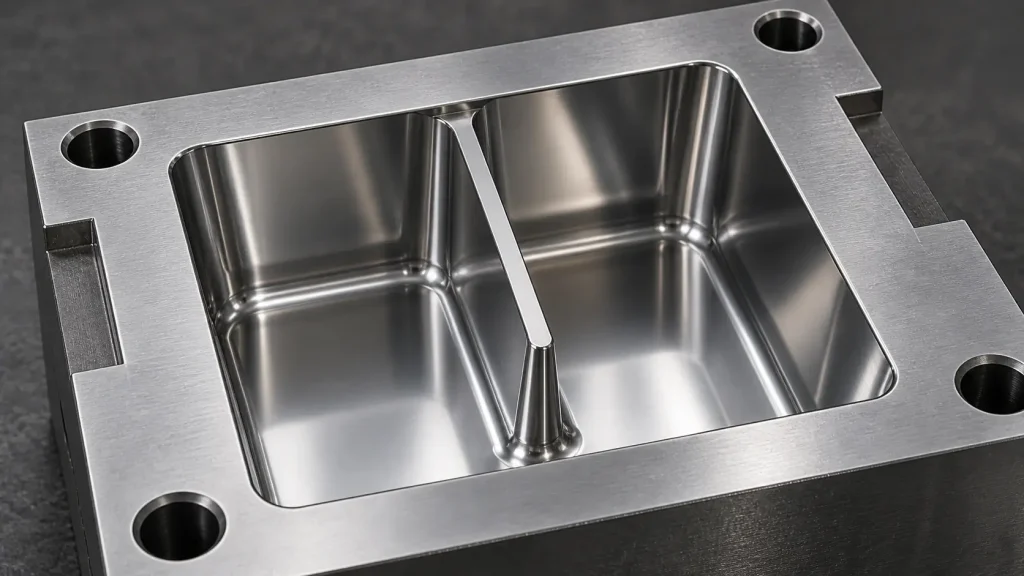
Material and Surface Condition
Steel selection affects the consistency of the finished surface. Inclusions, microstructural variation, heat-treatment condition, and repaired areas can influence how material responds to polishing.
Uddeholm’s technical guide to polishing mold steel explains the influence of steel cleanliness, preparation, and polishing technique on achievable surface quality. It also discusses pitting and orange peel associated with unsuitable polishing conditions.
A premium steel designation does not remove the need for a controlled process. Conversely, specifying A1 does not automatically require one particular steel grade. Review the material against the required finish, resin environment, expected service, and repair strategy.
Access and Feature Preservation
Polishing removes material. Excessive local removal can round shutoff edges, alter a sealing land, or change an optical surface’s form.
Deep slots and narrow ribs also restrict tool movement. The supplier may need removable inserts or a different tool layout to provide reliable access.
Bring these questions into the design review. Changing insert construction before machining can be more manageable than discovering an inaccessible cosmetic surface during final polishing.
Also consider handling after approval. Protective storage, cleaning methods, and maintenance instructions help preserve the finish that the customer has accepted.
When Is A1 Worth Paying For?
Applications That May Justify A1
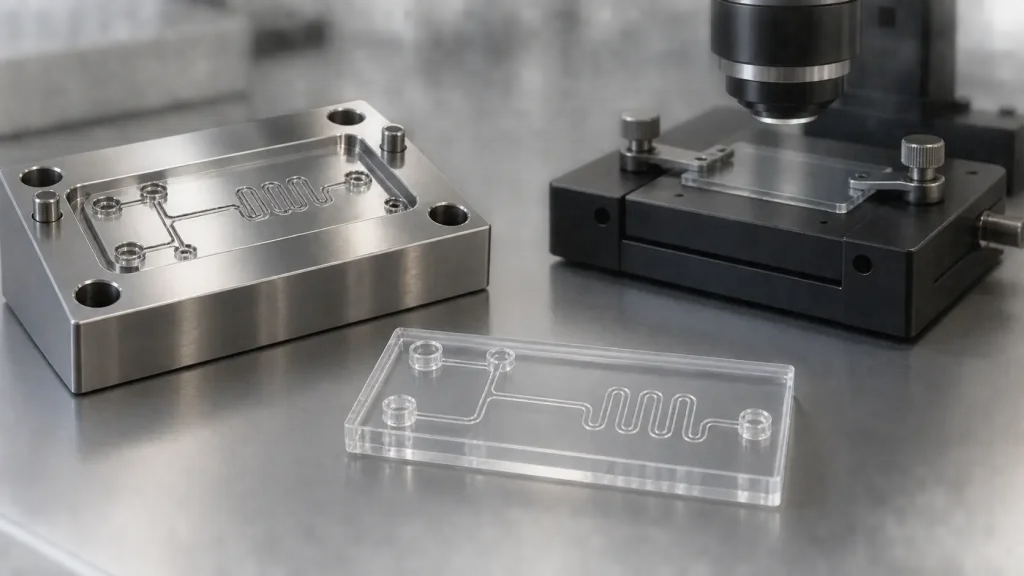
A1 can merit evaluation where surface defects affect a critical viewing region or a demanding cosmetic appearance. Optical components may require additional limits for surface form, haze, transmission, or image quality.
A useful application example comes from a 2024 study of injection-molded microfluidic devices in Advanced Engineering Materials. Researchers produced a polystyrene droplet generator with a 50 × 50 µm throat. Its channel features survived 500 shots without detectable damage, although other tool areas showed minor wear.
The same study evaluated optical clarity: at tested layer-exposure settings of 20–70 seconds, molded chips resolved the test target’s maximum 228 line pairs/mm. For a device like this, engineering acceptance criteria would address image contrast and preservation of fine channel geometry.
These were printed-resin tools, without an SPI diamond-polish comparison. The study is a laboratory application example, not a BOONA project or evidence that a particular SPI grade guarantees microfluidic performance.
Our engineering takeaway is to define the required optical and dimensional tests before selecting the polishing level.
When A2 or A3 May Be Sufficient
A2 or A3 may satisfy a product whose approved appearance does not require the finest diamond-polished surface. Confirm that through representative molded samples.
Resin color, fillers, flow behavior, and processing conditions influence the visible result. Review finish expectations together with plastic injection molding requirements. Upgrading the tool polish alone cannot guarantee the removal of weld lines, sink marks, or bulk-material haze.
How to Specify and Approve the Finish
Mark the Required Finish by Surface
Identify the surfaces that require A1, A2, or A3 directly on the controlled drawing. Define transitions and exclusions, including shutoffs, sealing lands, ejector regions, and surfaces that will receive texture.
Separate cavity-side requirements from core-side requirements. A transparent component may require attention to both faces in its optical path.
Keep mold polishing distinct from coatings or other surface-finishing operations applied to manufactured parts. Each operation needs its own acceptance conditions.
Establish Acceptance Criteria
Agree on the comparator sample, viewing conditions, and allowable defects before polishing begins. If measurements form part of approval, specify the parameter, instrument method, measurement locations, and evaluation settings.
Ra alone averages profile deviations; it does not fully describe isolated scratches, waviness, or reflected-image quality. Gloss or optical tests may therefore supplement mold surface roughness measurements.
Approve the mold surface and the molded plastic separately. Record the resin and processing conditions used for the accepted part samples, together with drawing and sample revisions.
Pro Tip: Ask for a surface-by-surface quotation with one agreed approval method. A supplier can evaluate a clearly bounded viewing window more consistently than an instruction to make the entire cavity “as shiny as possible.”
Worked Cost Comparison and RFQ Checklist
Compare Two Finish Strategies
Consider an illustrative tool with a defined viewing window and surrounding noncritical surfaces.
Strategy one specifies A1 throughout. Strategy two specifies A1 within the viewing region and an approved lower finish elsewhere. Both strategies must satisfy the same part-level acceptance requirements.
Use the supplier’s itemized difference to calculate the upgrade:
Additional cost = extra finishing hours × quoted hourly rate + additional inspection and consumables.
For arithmetic only, assume 12 extra hours at US$60/hour and US$180 for additional inspection and consumables. The upgrade equals US$900.
These are hypothetical inputs, not BOONA pricing, observed market rates, or a predicted A1 premium. The example shows how to audit a quotation. Reducing the A1 surface area by half would not automatically halve the polishing bill because preparation, access, and setup remain.
Information Buyers Should Provide
A useful RFQ includes:
- CAD model and revision-controlled drawing.
- Finish map with boundaries and protected features.
- Resin grade, color, and filler content.
- Steel specification or material-selection request.
- Cavity count and expected production requirements.
- Comparator samples and optical or cosmetic tests.
- Required documentation, trial scope, and schedule.
Ask the supplier to identify assumptions and exclusions. That makes future changes easier to price and prevents an apparently lower quotation from hiding unfinished approval work.
FAQs
What is the difference between SPI A1, A2, and A3?
All three belong to the diamond-polished family. A1 is the finest, followed by A2 and A3. Their conventional diamond references are Grade #3, #6, and #15, respectively. Confirm the required appearance with an agreed comparator.
How much more does A1 cost than A2?
There is no fixed surcharge. Additional preparation, polishing, inspection, access constraints, and approval work determine the difference. Request alternatives for the same tool and finish area, with the same acceptance requirements.
Does SPI A1 guarantee optical clarity?
No. Clarity also depends on the polymer, part geometry, both optical surfaces, and molding conditions. Specify the relevant optical performance and validate molded samples.
Can an existing A3 surface be upgraded to A1?
Often, provided the steel, geometry, surface condition, and dimensional allowance permit further work. Repair marks or inaccessible regions can complicate the upgrade. Review the existing tool before committing to cost or timing.
Can one mold combine different SPI finishes?
Yes. Mark each finish region and its transition clearly. Mixed finishes can concentrate the most demanding polishing where it has a demonstrated functional or cosmetic benefit.
Is an Ra measurement enough to verify an SPI finish?
Usually it is insufficient by itself. Ra does not capture every visible defect or optical characteristic. Combine any agreed measurement requirement with comparator-based inspection and application-specific acceptance tests.
Conclusion: Specify the Finish the Part Requires
The SPI A1 vs A2 vs A3 decision requires a clear connection between surface function, achievable finish, and approval cost. A1 deserves consideration where its additional refinement supports a measurable requirement. A2 or A3 can provide a more economical specification where representative samples already meet the product’s needs.
The most useful quotation identifies the work behind the grade: preparation, polishing, inspection, and any changes needed to achieve acceptance. Keep those items visible throughout tooling review and sample approval.
Send BOONA your CAD model, resin specification, and surface-finish drawing for a custom injection mold tooling review. Request comparable finish options with defined acceptance criteria and clearly itemized assumptions. BOONA offers no-MOQ tooling and a free DFM review with each quote. Send your CAD to start the technical discussion.